
Setting up your mail.coop account in Apple Mail on a Mac
Step 1: Log in to the mail.coop account interface
Visit https://mail.mail.coop
Log in using your mail.coop username (e.g. myname@cooptel.net) and password.
Step 2: Download the Apple Mail connection profile
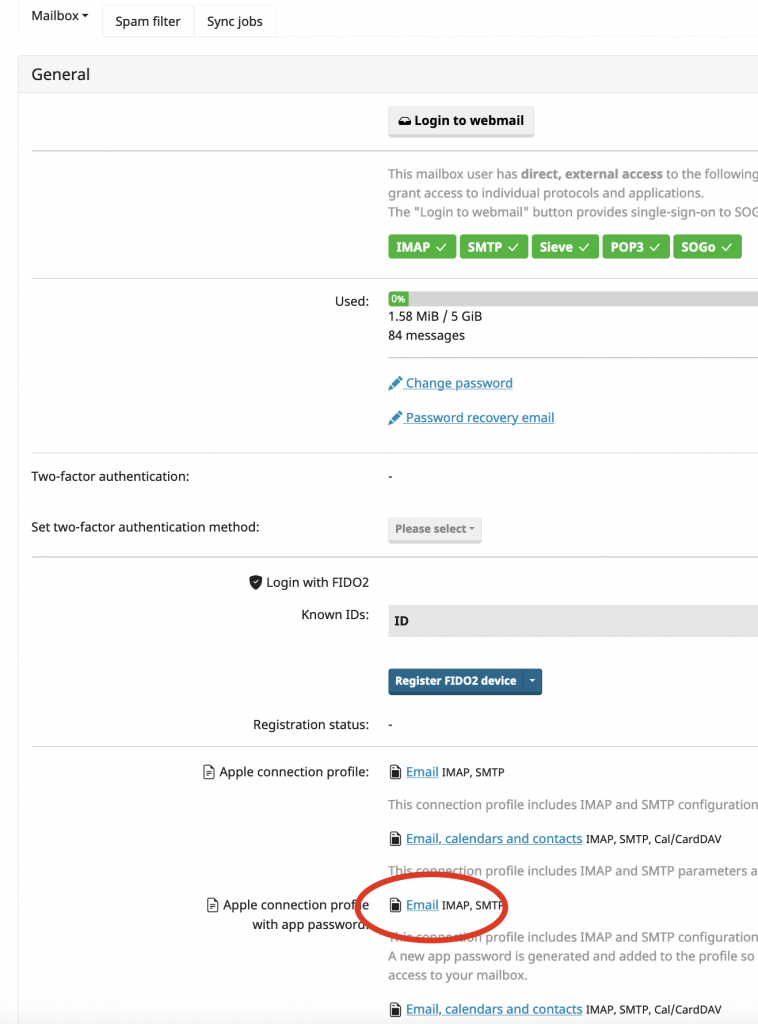
On the account page, select the ‘Email’ link where it says ‘Apple connection profile with app password’.
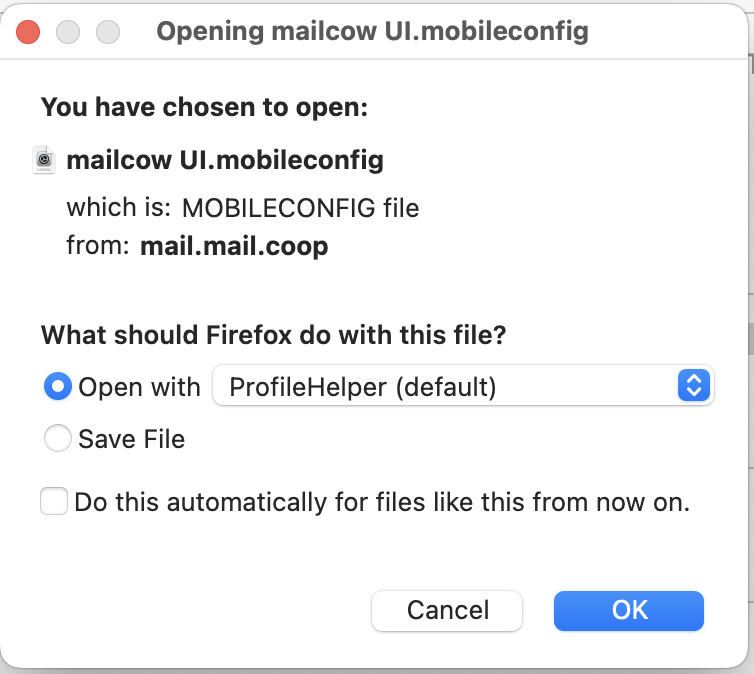
When prompted by the “Opening mailcow UI.mobileconfig” dialog, choose ‘Open with’ and click OK.
Step 3: Locate the downloaded profile
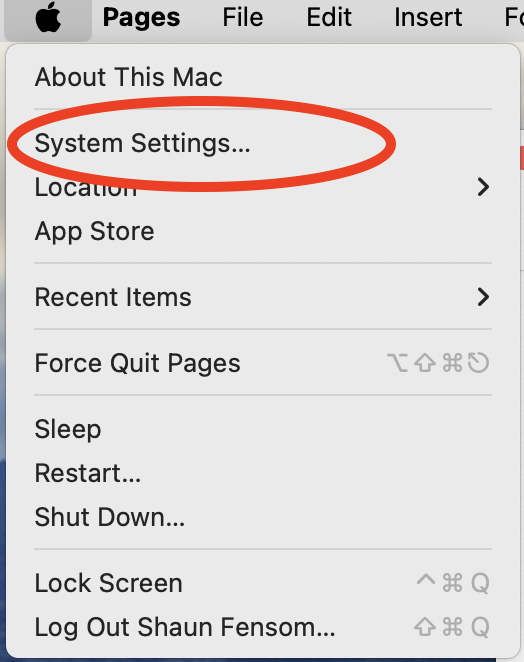
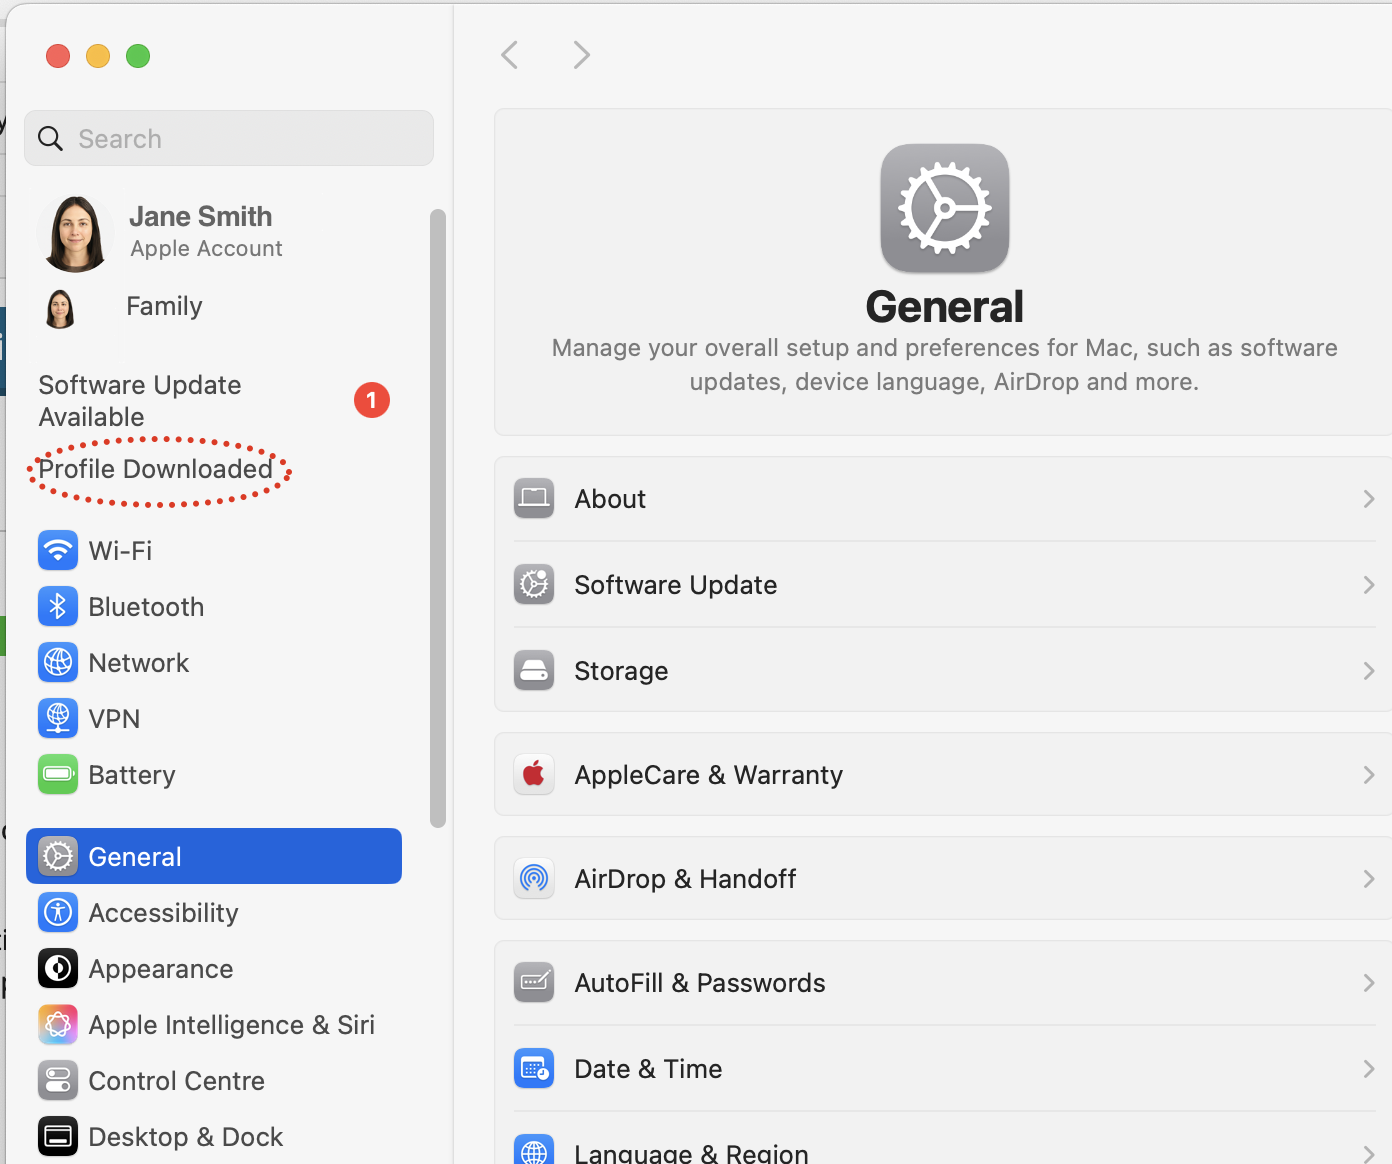
Go to System Settings (or System Preferences on older macOS versions) via the Apple menu.
If you have a recent version of MacOS you should see "Profile downloaded" near the top of the System Settings menu:
In older MacOS versions you may find it in Privacy & Security on the left, then click Profiles on the right.
Or use the Search box top left and search for 'Profile'
Step 4: Remove any old profile for this email address
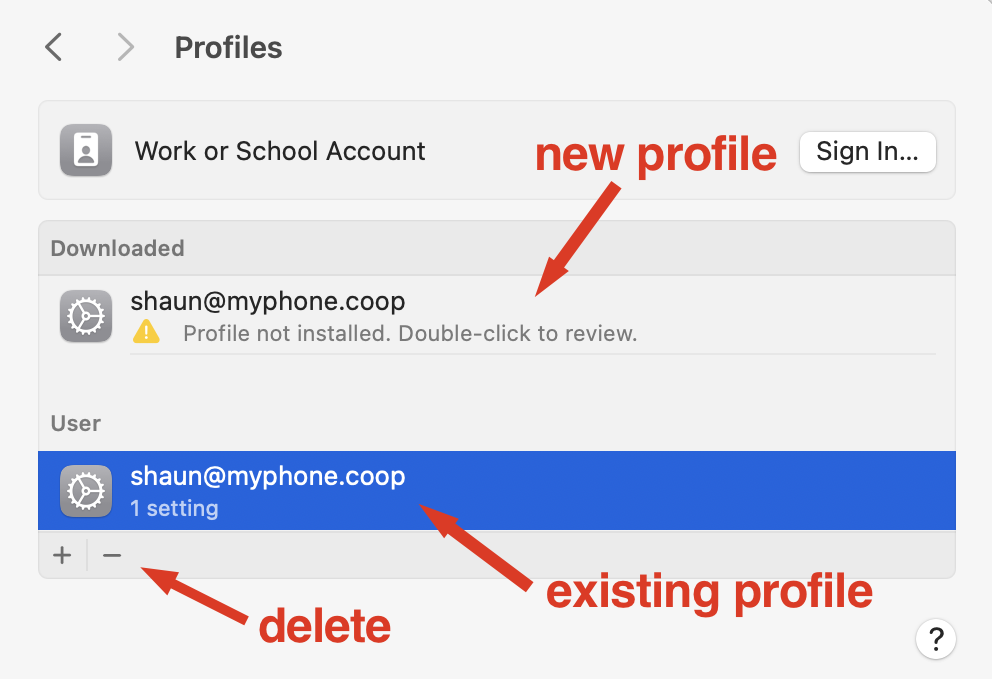
If you already have a profile installed for this email address (e.g. from a previous Phone Coop setup), you’ll see it listed under ‘User’.
Select the profile and click the minus (–) button to remove it.
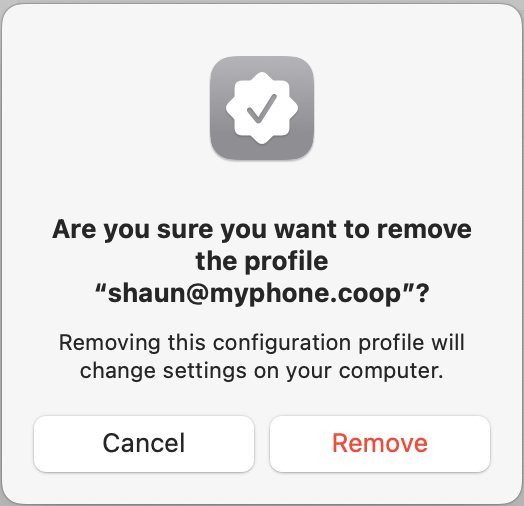
Then confirm by clicking ‘Remove’ in the dialog box.
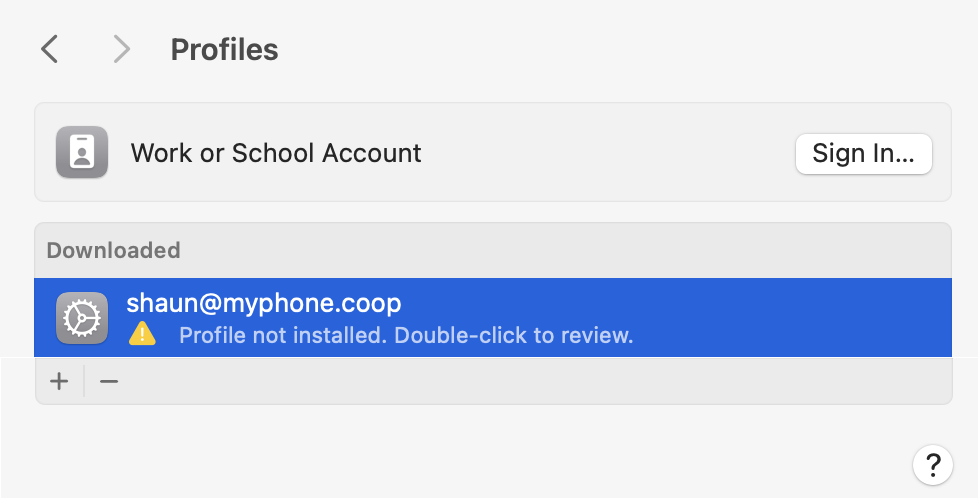
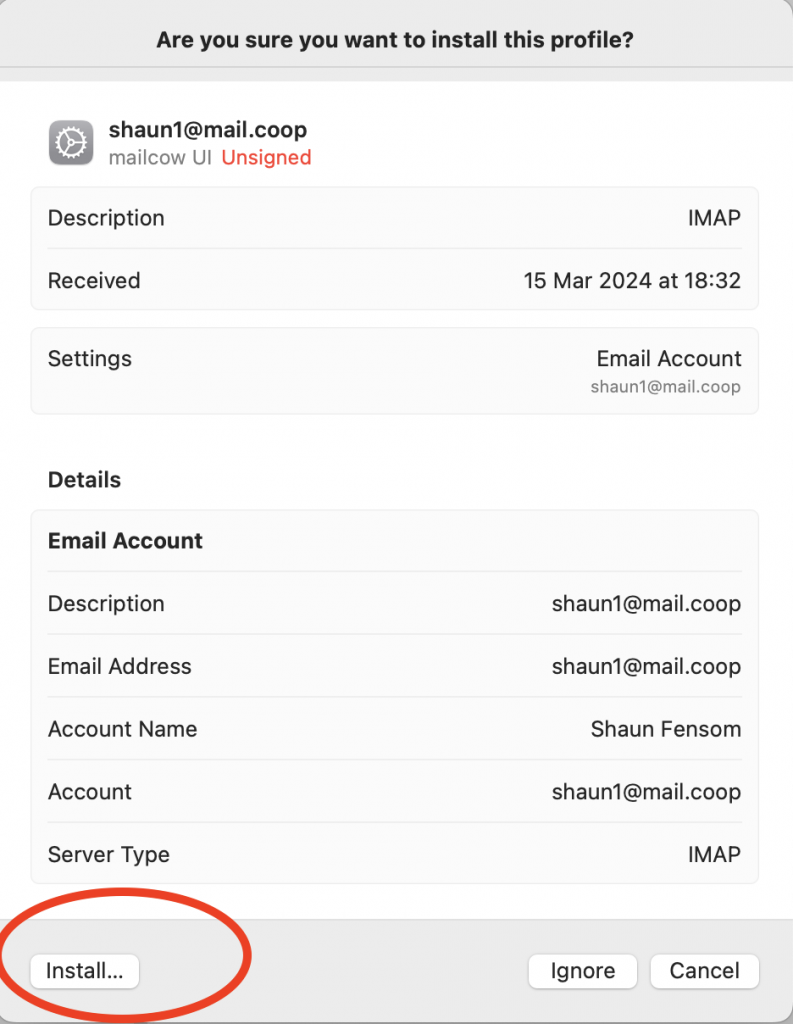
Step 5: Install the new profile
Double-click the downloaded profile to start installation.
Click Install.
Then click Continue to confirm.

Done! Your mail.coop email account will now appear in Apple Mail. It may take a short time to sync, especially if your mailbox contains a lot of messages, but you can start using it immediately.